Setting artwork up for Scodix.
Creating artwork for Scodix is relatively straightforward. All we require is an additional separation layer to act as a mask for the areas you would like to have scodified.
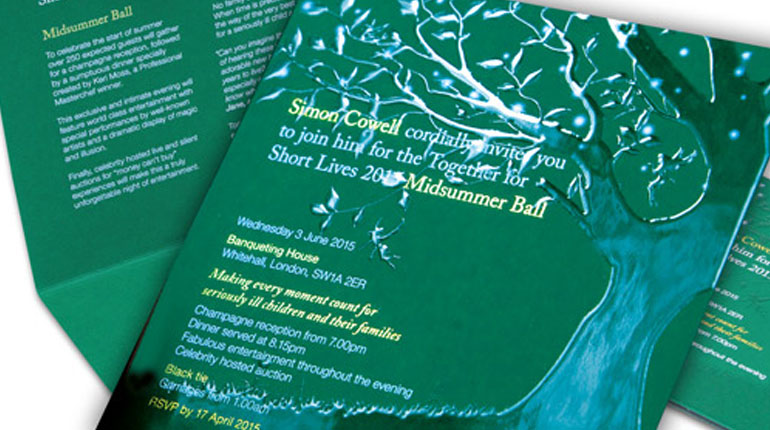
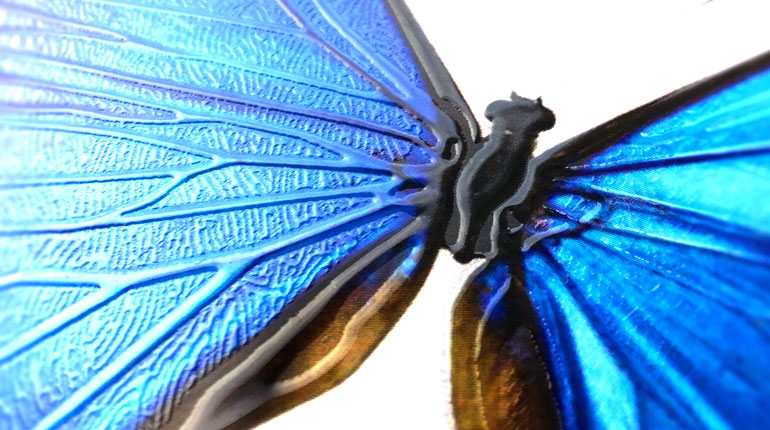
With Scodix you can print different elevations of UV varnish, enabling a sensory print finish. Anything above 30% coverage is printed as 100%, this is full gloss full 3D height. The softer lower more matt finish is archived by using the lower percentages 5% and 10% are good starting points. Using a mix of 5%, 10% and 30% gives a full sensory print look and feel. Take a look at the image below, you can clearly see the use of Scodix at different levels.
The additional Scodix layer must be identical in all respects i.e size, crop, position, orientation etc. As this is an over lay or over print layer.
Creating Artwork for Scodix
Open your artwork in your preferred design professional software and create a new layer for Scodix.
Select the elements you wish to Scodify and duplicate them to the new Scodix layer.
Create a New Colour Swatch and call it “Scodix”, select Colour Type “Spot Colour”, convert all Scodix elements to this spot colour.
Scodix Density Settings
To achieve different density effects, just apply different levels of opacity to the desired elements, to achieve a super high gloss effect you apply maximum density – 100% opacity, for a more matte effect, just apply low density – 5% – 30% opacity. If the item to be Scodified is a picture, you will need to create a mask in Photoshop. You will see the different densities on the UV layer. We like to set the spot colour 100% Magenta
Then we save the graphic working file and save the two layers – CMYK and UV – in PDF.
- Create a Scodix separation
- Create Scodix Spot Colour we like to set the spot colour 100% Magenta
- Define density effect
- Save the CMYK/UV files as PDF

Wise words by Arundhati Roy. And such a contrast to the swans and the haiku. Beautifully put together. Felice Lemmy Duong