How to create a sticker cut path in Adobe Illustrator. A cut path is a closed vector path that tells the laser where to cut around your sticker. Some stickers are very simple shapes like circles, squares and ovals. Laser cut stickers have a cut path that follows the outline of your design, and can cut right up to the design edge or leave a border around the outside of the design’s shape like a stroke. BrunelOne.com stickers must have a cut path included in the design file design and can be created in Adobe Illustrator.
Once the stickers have been printed on high quality vinyl we put the sticker sheet though our Motion Cutter – laser cutter, which uses the cutter path information to laser cut around your stickers. Everything inside the path will be included, anything outside the path will be waste when the excess vinyl is weeded.
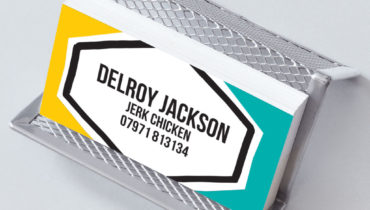
Sticker Cut Path
If you have any text in your design, you will need to convert to outlines, select the text and go to; Type > Create Outlines. We need to group everything we want to put a path around, so select all and then go to; Object > Group.
We then need to duplicate this group, to do this drag the group into the > Create New Layer icon.
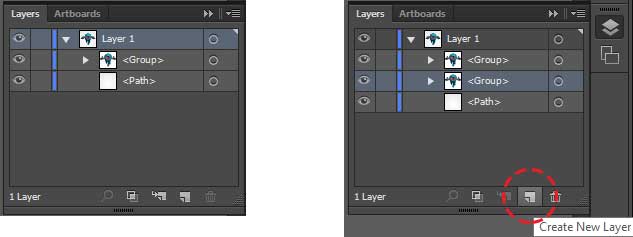
So that you don’t get confused, rename the two groups; Cut Path & Sticker Artwork. Next hide the Sticker Artwork layer. Select all the artwork in the cut path layer and go to pathfinder > Unite.
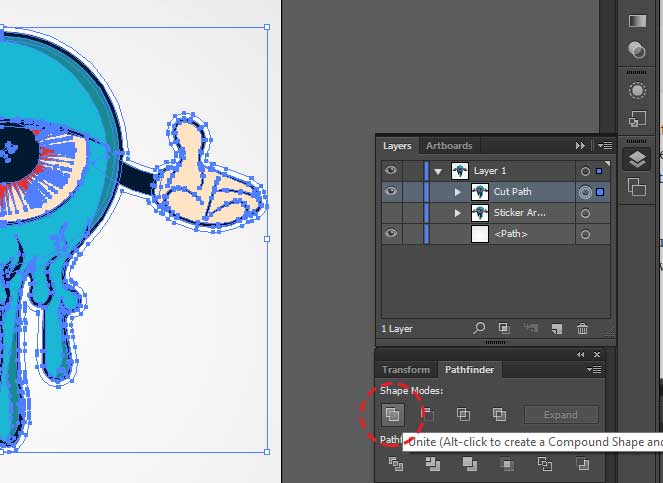
This merges all the shapes in the design into 1. Swap the Fill and Stroke and set the cut path to what ever colour you would like. We mainly use 100% magenta.
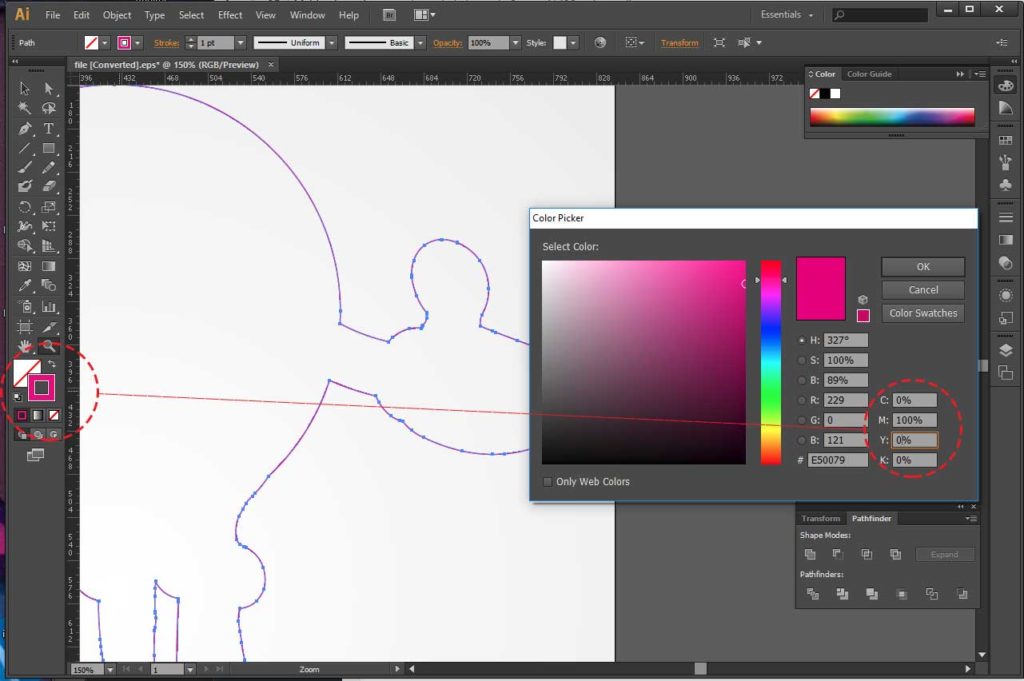
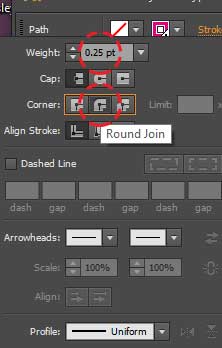
Then create a new swatch for the cut path colour. Go to Swatches > New Swatch. Rename the Swatch “Cut Path” Then change the colour type to “Spot Colour”. Set the stroke weight to 0.25pt and the stroke corner to; Round Join
Turn the artwork layer back on and that’s it. Now to add bleed, this helps with any movement in the printer and means your design will go all the way to the edge of the sticker.
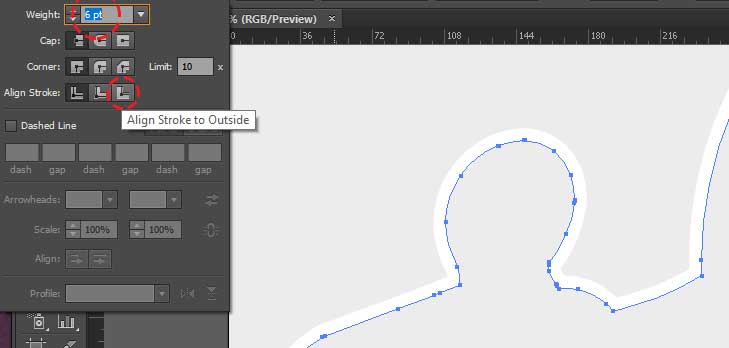
First duplicate the cut path, then rename the cut path > Cut Path Bleed. Hide the other layers. Now change the new cut path to the colour of the bleed. We have selected the dark blue from sticker design.
We now need to increase the stroke width we choose 6pt. Change the align to> Align Stoke to Outside.
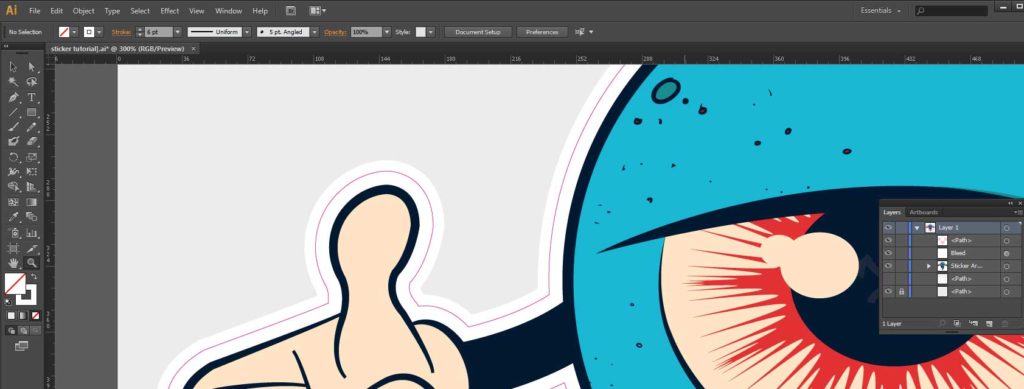
Turn on your other layers and that’s it you now have a cool sticker, with a cut path and with bleed added.
